3 min read

Myodetox

Posted on

What Is A Rotator Cuff Tear?


It’s the summer season, you’ve been asked to pitch for an upcoming pick-up softball game. Heck, you’ve been playing for over 20 years: this should be fun.

When you go to throw your first pitch, you suddenly feel a sharp pain at the top of your arm. You try to fight through the pain, but it’s hurting more and more to move your arm. What was that? Did I not warm-up enough? Did I hurt my rotator cuff? You’ve hurt your shoulder before, but not like this. This time…you can barely move! And all you were doing was something you’ve done for years.

Sadly, this isn’t an uncommon occurrence. And you may have a rotator cuff tear to blame.


What is Rotator Cuff Tear?

Hearing the word “tear” is never fun, especially when it comes to your body. Nearly 70% of people will experience shoulder pain at some point in their life, and this pain often involves the rotator cuff muscles and tendons. The worst of this is rotator cuff tears.

The rotator cuff muscles consist of four muscles: the infraspinatus, supraspinatus, teres minor, and subscapularis. All these muscles have tendons that attach to the top of your arm. These rotator cuff muscles surround your shoulder blade to do two things – initiate and stabilize your shoulder movement. They bear the brunt of responsibility when it comes to shoulder movement, and we take them for granted until we get injured.

The tendons are often injured when we do quick movements with load, or when we’re challenging our shoulder beyond the capacity it can handle. But, time can work against your shoulder, too. Many partial rotator cuff tears are a result of degeneration i.e. wear and tear.
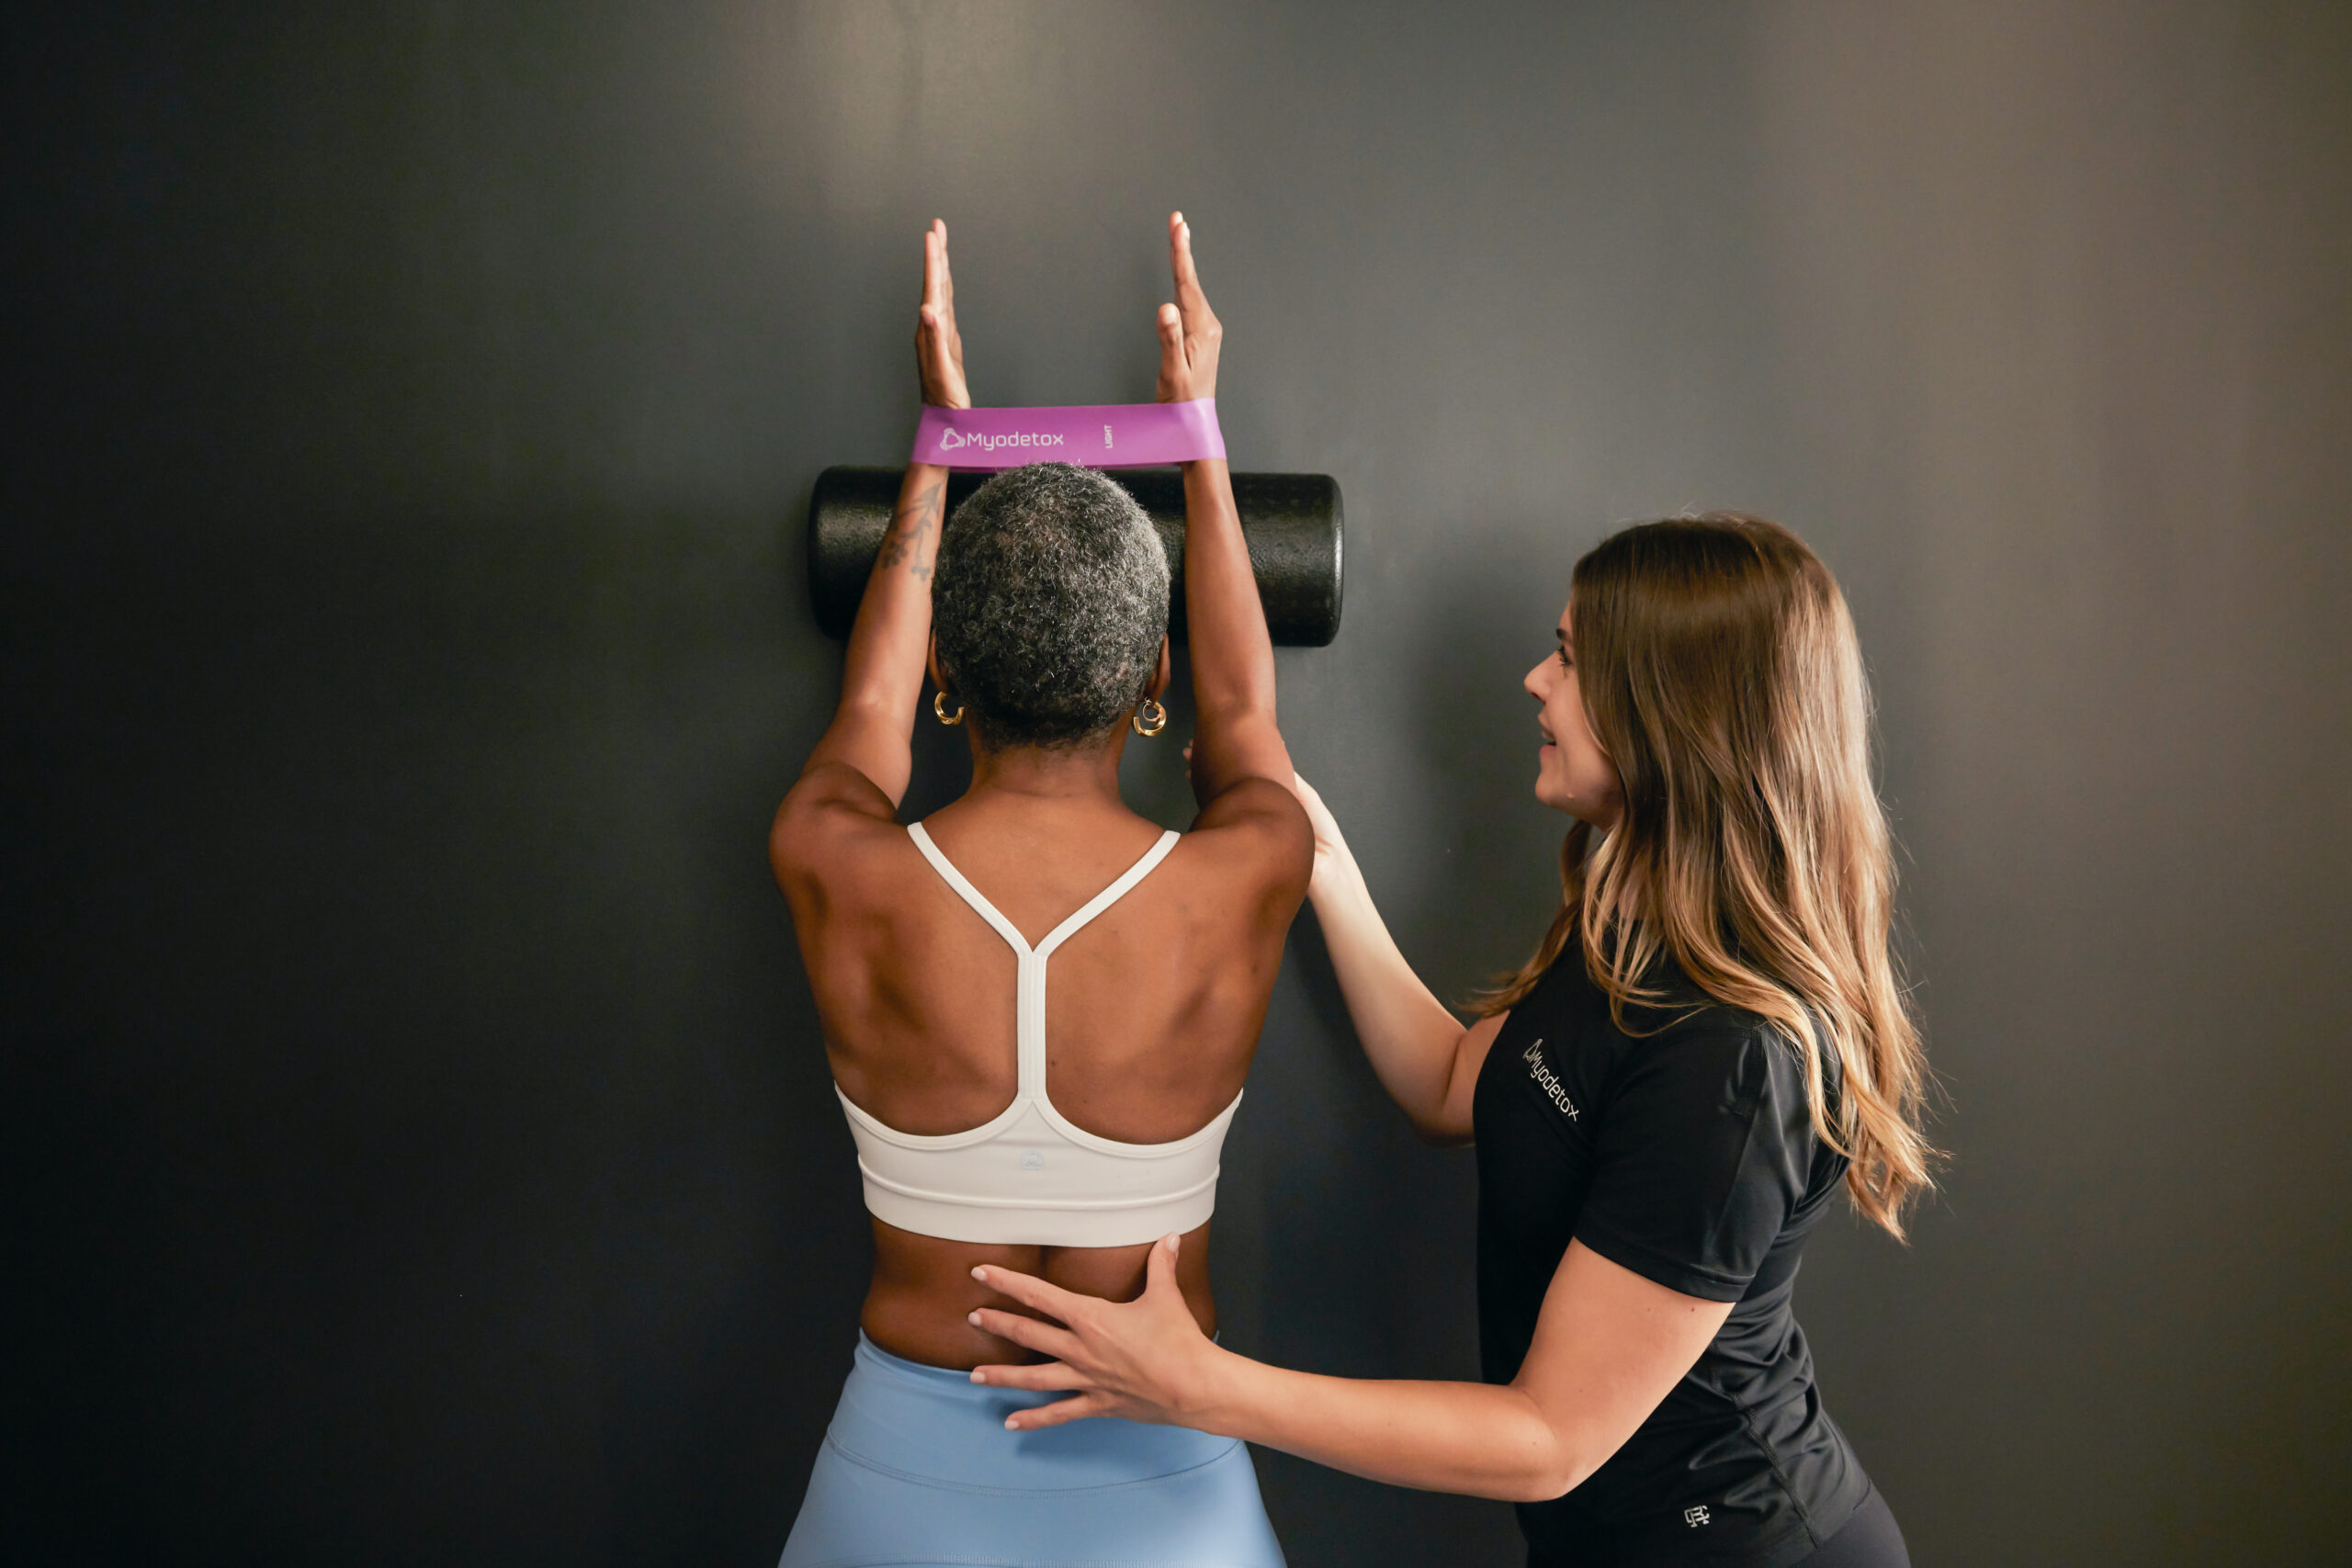


rotator cuff tear


What Does It Look Like?
Tears of our rotator cuff tendons are either incomplete (e.g. partial) or complete. The most common being the partial rotator cuff tear.

Partial rotator cuff tears can limit your shoulder range of movement and strength. Everyday tasks like putting a bra on, opening the fridge, or pouring a cup of coffee can become irritating. Suddenly, lifting overhead or getting into downward dog can be a pain. And that itch on your back? It will be nearly impossible to reach!

Immobility and compensating movements are often seen with partial tears, followed by pain with movement. But this isn’t always the case. In fact, there are people with partial tears that have no limitations in movement and no pain.
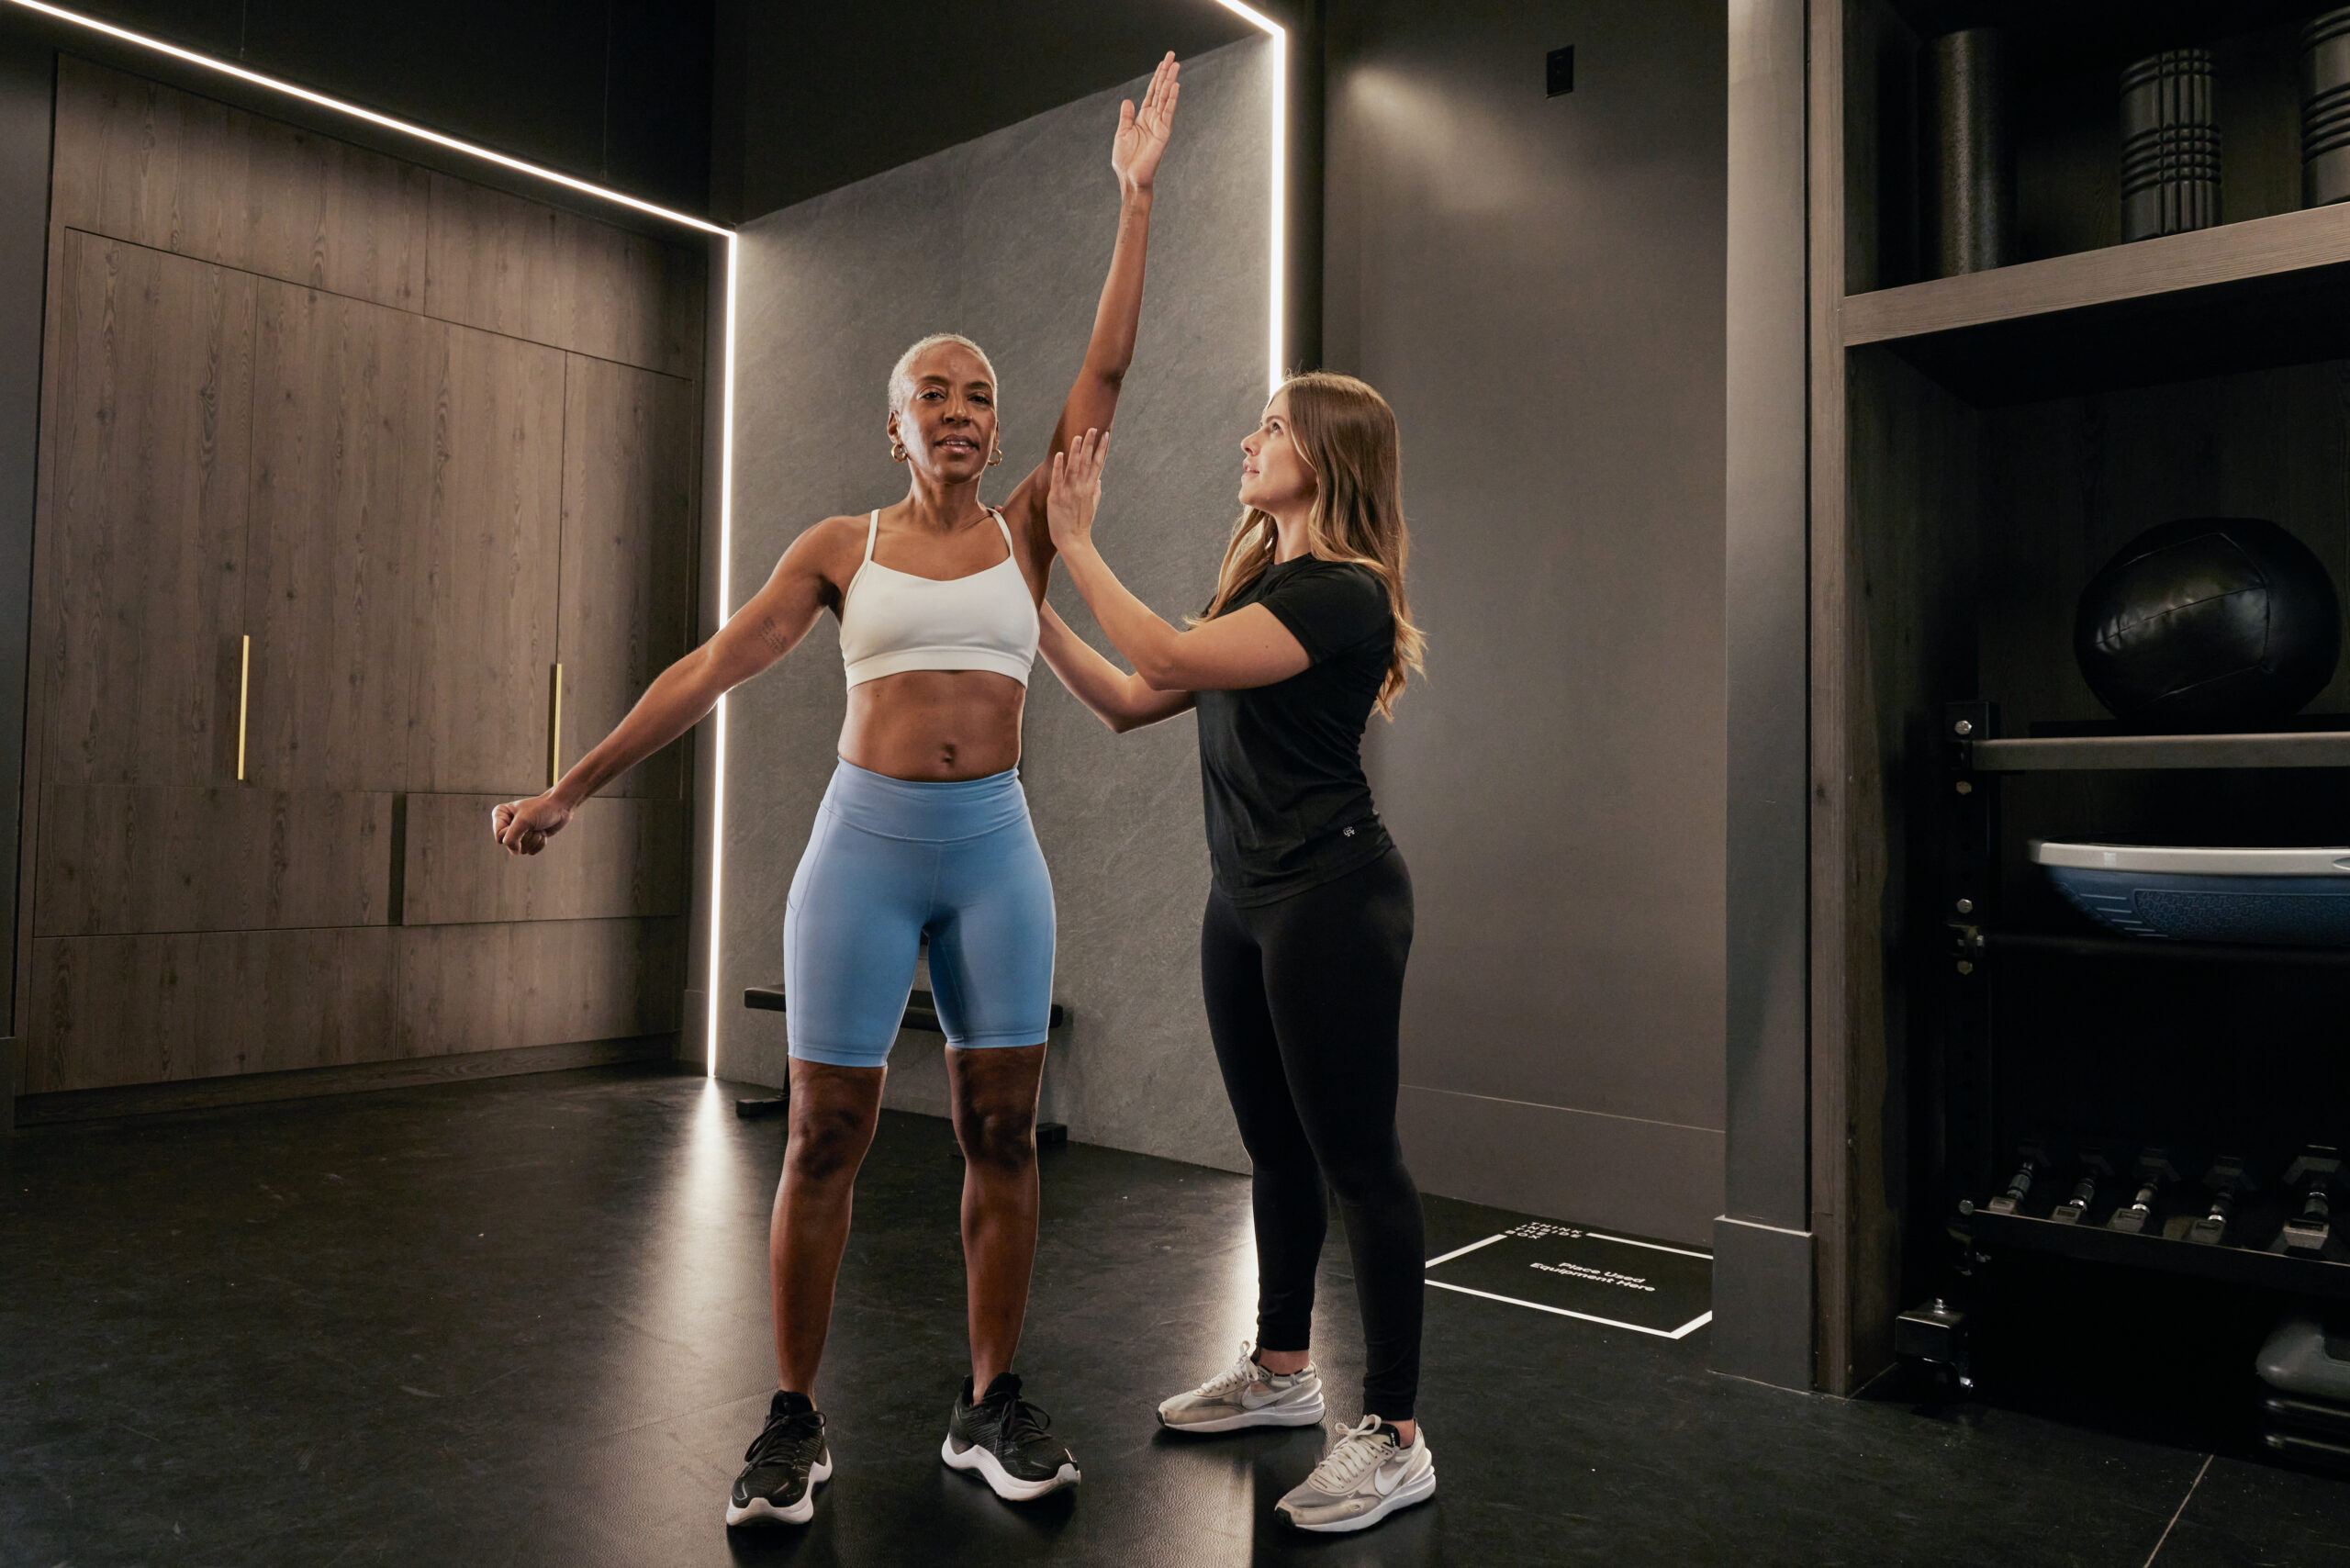

rotator cuff


Who Does It Affect?
What makes partial rotator cuff tears interesting is that many of them can go unnoticed over the years. We typically start to develop rotator cuff weakness as we enter our 30’s, and this weakness tends to progress as we age – unfortunately, this weakness is more prominent in women. As we age, partial and complete rotator cuff tears become more common.

The exact mechanism of this weakness is not known, but this much is true – tears do not always lead to pain, and tears are not always the direct result of injury. Time and our biological make-up can play a significant role in developing a partial tear. Of course, injuries and trauma can lead to partial and complete rotator cuff tears. But this does not mean you’ll never be able to move your shoulder the same way again.

What Can Be Done?
Surgery is rarely done for partial rotator cuff tears. It is encouraged to manage rotator cuff tears conservatively with physical therapy prior to considering more invasive interventions.

Managing shoulder dysfunction is simple in theory:

1. Work needs to be done to optimize shoulder range of motion. This can involve hands-on therapy and corrective exercises dedicated to mobility optimization.

2. Strength needs to be gained so that your shoulder can handle the load needed to carry-out everyday tasks, as well as participation in the sports and activities that make us happy.

For those experiencing incomplete rotator cuff tears, try these exercises below to get you started: CARS

The work that needs to be put in is the hard part. The shoulder joint is complex in that its movement and stability relies heavily on our muscles, joints, ligaments, and nervous system. Thankfully, having the right therapist by your side ensures you have the right tools needed to address this. The evidence fully supports the use of non-surgical interventions to manage partial rotator cuff tears.


Ready to play ball?
After the pain that was felt trying to throw a ball, you decide to see your physician who orders imaging for the shoulder. A week later, two things happen: your shoulder feels better with movement, and your imaging finds a partial rotator cuff tear. How can this be? Your shoulder movement has improved within a week, but a partial rotator cuff was found. Turns out, the physician points out that the rotator cuff injury appears old – you’re only feeling some of its effects now. It’s time to see a Physical Therapist.

When we have damage to the shoulder, the body is amazing at adapting to the given circumstances. Identifying areas of weakness is identifying opportunity – strengthening and stabilizing the shoulder can re-establish movement and ensure you’re getting back to doing the things you love.

Consulting your physician is never a bad step, but what’s found in imaging doesn’t always correlate with how a damaged shoulder moves and feels. A rotator cuff tear can be overcome with the right therapist and team by your side.

Find your nearest Myodetox clinic!

2 min read

Myodetox

Posted on

What Is Frozen Shoulder?


If you’ve experienced a serious injury to the shoulder, like a rotator cuff tear, you may have been warned about developing adhesive capsulitis, otherwise known as “frozen shoulder”.

This condition gets the name “frozen shoulder” due to the stiffness and pain it causes.


What Is Frozen Shoulder?
Frozen shoulder is significant shoulder mobility restriction and pain that develops slowly, and can sometimes last for 1-2 years. It typically develops during long periods of rest (e.g. post-fracture and post-surgery).

The shoulder joint has connective tissue surrounding it. This tissue typically serves to stabilize the ball-and-socket joint of the shoulder, and acts as a support structure. With this condition the connective tissue becomes immobilized and inflamed.

stiff shoulder


Who Gets Frozen Shoulder?
Frozen shoulder affects up to 3% of the US population. Of all the shoulder conditions that cause immobility and pain after the age of 40, adhesive capsulitis is the leader. The major risk factors for developing it include:

  • Non-dominant hand/arm.
  • Rotator cuff pathology.
  • Glenohumeral fracture.
  • Systemic diseases such as diabetes mellitus, thyroid dysfunction, cardiovascular disease, and Parkinson’s disease.

    frozen shoulder


    What Causes Frozen Shoulder?
    There are two primary causes for frozen shoulder, but the mechanism of development is largely unknown. Primary adhesive capsulitis is idiopathic – pain and immobility gradually develop without any specific cause.

    Secondary adhesive capsulitis is associated with systemic issues of the body such as diabetes mellitus, hormone issues, rotator cuff injuries, shoulder injuries, calcific tendinitis, cervical spondylosis, and strokes to name a few.

    What Are The Symptoms?
    The main symptoms of adhesive capsulitis involve movement restriction and pain. There are three stages involving these symptoms:

  • Freezing stage: shoulder range of motion begins to diminish, and general movement (particularly overhead and behind the back) movements become painful. This stage ranges from 1-9 months.

  • Frozen stage: shoulder movements become even more stiff, though pain begins to reduce. Functional use (e.g. reaching overhead, putting a coat on) becomes much more difficult. This stage ranges from 4-12 months.

  • Thawing stage: this is when movement and pain begin to improve, and previous loss of functional movements slowly return. This stage ranges from 5-24 months.

    How Do You Prevent and Manage It?
    Most cases of adhesive capsulitis develop during long periods of immobility such as healing from a shoulder break, stroke, or a post-surgical rotator cuff tear. For some it will develop without any associated cause. Regardless of cause, once safe, movement will be key.

    Maintaining health movement, strength, stability, and facilitating appropriate muscle recovery of the neck-back-shoulder complex is key.

    The physical therapy interventions that are most favorable focus on manual therapy, progressive stretching, and myofascial techniques to maintain optimal shoulder movement and strength. This is most important in frozen and thawing stage.

  • Myofascial techniques: focus on the muscle and fascial tension that builds with frozen shoulder, providing stimulus to aid in movement and recovery.

  • Progressive manual therapy: mixing joint mobilization, deep tissue massage, progressive stretching, and muscle energy techniques.

  • Exercise: focused on challenging and progressing range of motion, scapular stability, and strength for functional movements.

    Frozen shoulder is a long road for many, but the right treatment can get you back to moving at your best.

    Ready to start managing your shoulder mobility?

    Find your nearest location

  • 1 min read

    Dr. Nicole Chambers

    Posted on

    3 Types of Shoulder Instability


    Learn the 3 types of shoulder instability to help prevent pain!

    Shoulder injuries are very common. Your shoulder is a highly mobile joint, imbalances in its stability and strength can easily lead to dislocations.


    3 Types Of Shoulder Instability
    Shoulder instability occurs when your muscles and ligaments are challenged to the point of pain and discomfort.
    There are three major types of instability: anterior, posterior, and multidirectional.

    1) Anterior
    Anterior instability occurs when the humeral head (e.g. the “ball” of the shoulder joint) translates forward. Primarily seen in athletes and males aged 15-30. Dislocations generally occur with an outstretched arm. Anterior is the most common form of instability.

    2) Posterior
    Posterior instability is less common but typically seen in overhead athletes like football, tennis, baseball, lacrosse, and water polo. Posterior instability is usually aggravated with the arm forward and across, under load.

    3) Multidirectional
    Multidirectional instability is not associated with trauma. This type of instability occurs when there is general instability in all directions of shoulder movement. People with this type of instability are typically “double-jointed”, hypermobile individuals and/or have developed chronic dislocations of the shoulder.
    Learn more about hypermobility here.


    How Do You Manage Shoulder Instability?
    Exercises dedicated to stabilization and neuromuscular control yield the best results. Managing shoulder instability requires specific strengthening and stabilization exercises that become natural to the individual.

    The progression of your exercises should train you up to positions in which the shoulder was previously vulnerable. The reaction time for your shoulder stability needs to become second nature, which will require significant work and time.

    Exercises should focus on the rotator cuff muscles, and the global movers of the shoulder. Training should focus on both open movements (e.g. overhead, unloaded movements like throwing), and planted movements (such as weight training, specialized push-ups, and core strengthening).


    Want To Work On Your Shoulder Stability?
    Book a session with me! I will assess your movements and set you up on a FutureProof plan to increase your mobility, reduce pain and prevent injury.

    Book your session today

    3 min read

    Gopi Kang

    Posted on

    3 Ways to Prevent Shin Splints


    We’ve all had them at one point.
    Shin splints can be the downside to a new workout regime.

    As we come into the warmer months, our time spent being active increases and so does the risk of shin splints.


    It’s estimated that 20% of the population experiences shin splints, increasing as we age. Preparing your body and understanding the causes of shin splints is the key to preventing pain.


    3 Ways To Prevent Shin Splints
    If you’ve been increasing your walks and runs, you may need to reduce or break up your volume. Do your best to not increase distance by more than 5% per week. Having an appropriate warm-up, mobility, strength, and recovery routine will do wonders for your shins.

    Mobility: Ensuring minimal tightness at the Achilles tendon, posterior calf muscles, and anterior shin muscles is key to minimizing shin splints. Focus on exercises to maximize your range. Try maximal rotations of the ankle, as well as calf stretches.

    Strength: Weakness with the posterior calf muscles may lead to overuse of the shin muscles. Focus on strengthening the soleus, gastrocnemius muscles, tibialis posterior muscles, and tibialis anterior.

    Warm-Up and Recovery: Foam rolling along the back of the calf muscles and front of the shin can provide stimulus to these muscle groups. This allows relaxation and nourishment to the muscle group with increased blood flow, pain relief, and improvement in range of motion.

    Finally, hands-in therapy involving joint mobilizations along the ankle, tibia, as well as myofascial treatments can provide relief of surrounding tissues contributing to shin splints. Using these ways to prevent shin splints will ensure you stay active all season long!


    What Are Shin Splints?
    Shin splints are an overuse and repetitive stress injury at the shin. It happens when the muscles surrounding the tibia (the larger lower leg bone) cannot recover or heal in response to repetitive contractions like walking, running, or hiking. Shin splints are medically known as medial tibial stress syndrome (they can also exist as anterior tibial stress syndrome).

    They are a common complaint amongst runners new and old – nearly 70% of runners experience them. Those experiencing it will often complain of dull, aching pain during and after activity. What makes shin splints odd for many is that they can be experienced and eased during activity, only to persist as a dull achy pain for days. People that walk for leisure and exercise can also experience shin splints.


    What Do Shin Splints Feel Like?
    Shin splint pain is either felt at the front, middle, or side of the shin. This means you either feel pain along the thick muscle along the outside of your shin bone or around the large ankle bone along the side of the foot. Most commonly the pain is felt at the bottom third of the shin.

    For many, pain along the shin will increase at the beginning of a new activity, and ease with movement. Pain also tends to be the worst for most people after their activity. 24-48 deep dull aches are the average symptom.


    How Do Shin Splints Happen?
    It’s thought that shin splints occur due to repetitive microtrauma to the muscle or tendon. This leads to a point where the ability to recover and heal is outpaced by stress and inflammation of the muscle group.

    Increased walking or running volume, speed, and surface changes like concrete or trails, can all lead to these microtraumas.


    Need Help With Your Shin Splints?
    Book a session with me! I’ll assess your movements and set you up on a FutureProof plan to increase your mobility, reduce pain and prevent injury.

    Book your session today

    3 min read

    Janny Chan

    Posted on

    Test Your Hip Mobility


    How tight are your hips?
    Test your hip mobility with these simple exercises.

    Stiff hips may be an early indicator of arthritis.
    Here’s what you need to know.


    It’s estimated that roughly 10% of the population experiences some form of hip pain, increasing as we age. Hip stiffness is often the first sign of impending hip pain.

    Understanding the characteristics of tight hips and what you can do to help is the key to preventing pain.


    5 Ways To Test Your Hip Mobility
    Here are a few movements you can do to test your hip mobility.

    These movements are best reviewed with a physical therapist, chiropractor, or massage therapist. Doing the tests yourself will give you an indication of your hip’s mobility and stiffness.

    Squat Test: sink into a squat, and attempt to shift side-to-side. You may find one hip feeling more tension than the other.

    Internal Rotation: lay on your back, bring your knees to a 90 degree angle, and rotate the feet outwards. This is the internal rotation of the hip. Compare range and feel side-to-side.

    External Rotation: lay on your back, and bring one knee to a 90 degree angle. Keeping the thigh still, rotate your foot inwards. This is the external rotation of the hip. Compare range and feel side-to-side.

    Flexion: lay on your back, with your legs flat. Bring one knee towards your chest. This is flexion of the hip. Compare range and feel side-to-side.

    Extension: lay on your stomach, legs flat on the ground. Keep your knees straight, bring one leg off the ground. This is a hip extension. Compare range and feel side-to-side.


    3 Common Reasons For Hip Stiffness
    The hip is a highly mobile joint that relies on cartilage, bone, muscles, and nerves to work together. Each one of those components may contribute to feeling stiff in the hip.

    Nerves: the ability to rotate the hip, and move it into adduction and abduction is limited by the mobility of the major nerves of the hip and thigh. Issues with major nerves of the hip build up over time due to movement, postural habits and/or a lack of mobility.

    Muscles: your muscles and tendons are the most common sources of hip stiffness. Many office workers and athletes may complain of “hip flexor” stiffness or “glute stiffness”. The stiffness here may coincide with weak muscles, decreased range of motion in certain directions, and pain with use.

    What starts off as stiffness and a pinch can become a chronic issue if not appropriately addressed. Hip pain can often feel like a pulling, cramping, or sharp pains at the front, back, and side of the hip. These will often be aggravated by general movements like sit-to-stands, side-to-side movements, running, or even walking.

    Joint: cartilage damage (e.g. labrum of the hips) or surface degeneration of the articulating bones, “wear-and-tear” at the hip joint leads to significant reductions in the range of motion..

    With joint issues, hip stiffness and pain are often felt deep in the groin. This pain is not palpable, meaning massage (or any other similar intervention) brings no temporary relief. There may be clicking, locking, or a feeling of “catching” at the hip. Athletic movements and stair climbing get more and more difficult.

    Those with arthritis feel stiffness in the morning, continuing with aggravation and groin pain throughout the day, making a simple walk very difficult.


    What Can I Do About My Hip Stiffness?
    Regardless of the causes of your hip stiffness, understanding which movements are restricted or painful and what activities are limited is important to know moving forward. Thankfully, movement and exercise routines deliver amazing outcomes for hip stiffness.

    Physical therapy can guide your hip mobility, and start creating movement goals. Along with massage therapy and chiropractic treatment, manual therapy techniques such as joint mobilizations and myofascial techniques provide relief for hip stiffness.


    Want To Have FutureProof Hips?
    Book a session with me! I’ll assess your movements and set you up on a FutureProof plan to increase your mobility, reduce pain and prevent injury.

    Book your session today

    3 min read

    Life Hacks: Self Myofascial Release Tools To Use At Home

    Posted on

    Life Hacks: Self Myofascial Release Tools To Use At Home

    If you’re wondering where you can get some myofascial release tools, perhaps you should start looking in your own home.

    So you’re new to the idea of self myofascial release tools and using the best foam roller, myofascial release lacrosse ball, and many more self release tools. This article will show you how to use some items around the house to get into the routine of taking care of your body. Self myofascial release techniques are easier than you think!

    ralph
    Use your Broom Stick like a rolling pin

    Probably best to remove the head first but once you’ve done that you have yourself a dowel. You can use this for rolling out muscles (like a rolling pin). It can be used in areas where you may experience muscular tension and pain such as your legs, glutes or neck. Working on an area for a couple minutes is ideal or until you feel a softening of the tissue.

    ralph

    ralph
    ralph
    Use the wall to help with stretching

    We all have these and they are great if you want to stretch your upper body like your pecs, rotator cuff and back. Holding stretches for 45 seconds while varying the angles of your body will give you the best results

    ralph
    Use a frozen water bottle like a foam roller

    Ideally this should be metal or heavy duty plastic. You can use these on specific tender areas on large muscle groups like your glutes or where you may feel leg pain. Find those local stubborn knots and wait 90 seconds or so for the tissues to release.  

    ralph
    Tennis Balls can be used like a lacrosse ball

    Hopefully you have 2 of these because we have a tip on a self myofascial release tennis ball trick! Put them into a clean sock and tie off the end. You’ve now made what is called a “peanut”. Use this by placing it segmentally along your spine from your low back up into the base of your head. This is great for managing any cervical tension or pain. Stay in each area for a minute or two.

    Using self myofascial release tools at home on a regular basis can help prevent the buildup of tension and stiffness in your body. They are great if you are experiencing some hip pain or leg pain due to limited flexibility or lack of mobility and can be a great addition to your pain management strategy.